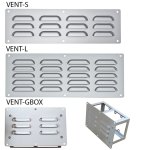
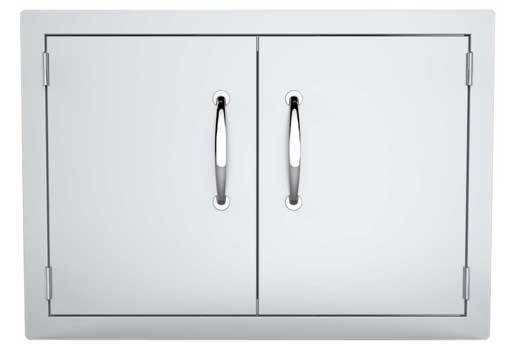
Match the right Sunstone Style of Door with your unique Construction Method
For Wood, Welded, or Metal Stud framed construction where the finished wall uses Medium-Flat surfaces like Stucco, Dryvit, or Veneer Brick, our Sunstone Classic Series Flush Style Doors, or Signature Series Beveled Style Doors are perfect options. For Masonry Style Construction Islands, we recommend our Designer Series Raised Style Doors because of their Extra-Deep inner Flange making it much easier to install, also the Signature Series Beveled Style Doors work well also. The Classic Series Flush Style is not great for Masonry or Stone Veneer finished walls.
For Wood, Welded, or Metal Stud framed construction where the finished wall uses Medium-Flat surfaces like Stucco, Dryvit, or Veneer Brick, our Sunstone Classic Series Flush Style Doors or Signature Series Beveled Style Doors are perfect options. For Masonry Style Construction Islands, we recommend our Designer Series Raised Style Doors because of their Extra-Deep inner Flange making it much easier to install, also the Signature Series Beveled Style Doors work well also. The Classic Series Flush Style is not great for Masonry or Stone Veneer finished walls.
TYPES OF INSTALLATION METHODS
WOOD FRAMED ISLAND: For Wood Framed Island Construction it is Extremely important Not to use any wood within 24″ Inches of BBQ Grills. Wood frame is fine for Bar/Sink areas and or Storage compartments. If your island is mostly wood, just substitute for Metal Studs while within the 24″ Inches of the BBQ Grill. When installing the Door to all Wood Framed Islands, locate the Pre-Drilled holes on the inside rim of the Door perimeter. Locate some “Deck Screws” in your hardware section of HOME DEPOT.
METAL STUD FRAMED ISLAND: This is the most common type of Outdoor Kitchen Island, for most “Modular Type” Islands, and even many islands built on-site use Metal Studs as their choice of construction material. It is a superb building material for any reason, easy to work with, fire-proof, and sturdy as it is available in many Gauge thicknesses for whatever the use. When installing your Door with this type of construction, you will need to use a “Self-Tapping Screw” – which is available in plastic boxes usually near the end of the hardware all in your HOME DEPOT store.
MASONRY CONCRETE BLOCK ISLAND: The use of Masonry materials is very common among Contractors/Pool Builders, who use materials like Cinder Blocks very often preferring this type of construction for its Low-Cost attributes and easier building methods. If your Island is built in this way, you must pay closer attention to the Cut-Out Width & Height, since the average Block Height is 4″, 8″ or 12″ Inches and will not allow for any variance to these measurements without actually cutting into the stone. Use a Hammer-Drill and a Concrete Drill Bit to make the Holes, then use the Hammer-Drill once again this time using a Self-Tapping Concrete Bolt. Other methods include using the masonry’s concrete mortar around the back frame of the door, or even using “Nail-Glue”, important note – for either of these other methods you will not be able to remove your door later if needed. Locate The Hammer-Drill, Concrete Drill Bit in the Hardware Section, or Concrete & Masonry Blocks in the Building Materials Section of your local HOME DEPOT store.
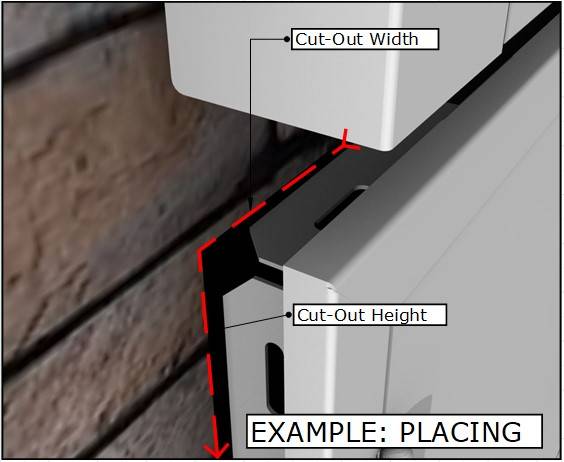
PLACING: All Sunstone Doors are “Self-Rimming”, meaning that whatever the Cut-Out edge looks like, as it is always rough, the product rim will cover all edges so that the door nicely seals around the edge. All Cut-Out dimensions are given a little breathing room to allow for any mistakes made, like either slightly larger or smaller is usually fine. For a perfect weather seal – try using some Clear Silicone around the outside edge of the frame.

MOUNTING: Once the Door is positioned, locate the multiple “Pre-Drilled Holes” – see that the Island’s Framing is within reach of your Screws. Depending on how Thick your exterior wall is, you may need to locate some longer screws, and or use them in conjunction with “L-Brackets” in order to extend the inside reach to your island’s frame. Make sure you are using the correct style of door that works with your unique island construction method.
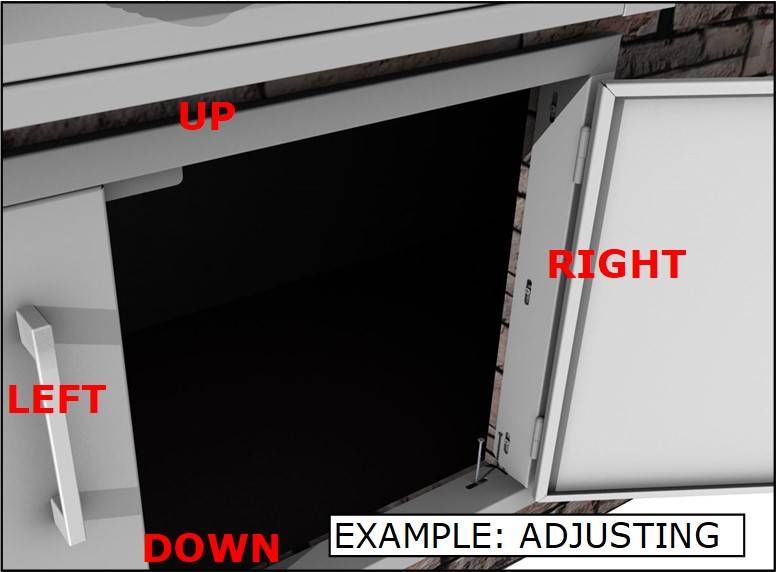
ADJUSTING: The best method to properly align the door centered in your Cut-Out is to Drill Adjacent Screws, Left then Right, Up then Down, and so on until the door is perfectly centered. While some screws may not meet the framing – that is OK so long as the Door feels sturdy. If you have not already installed the Handles – Please do that now, handles come packaged pinned inside the frame, or screwed to the inside panel of the door, so you may just need to reverse them using a Philips Head Screw Driver.